How to Test a Cooling Fan
A cooling fan plays a critical role in maintaining safe operating temperatures for electronics, industrial machinery, and HVAC systems. When it begins to fail — whether through reduced airflow, unusual noise, or erratic operation — performance and reliability can quickly degrade. Understanding the signs of a failing cooling fan and knowing when replacement is more practical than repair can help prevent costly downtime, component damage, and overheating-related failures.
This guide outlines the most common cooling fan issues and helps you determine whether a quick fix or a complete replacement will deliver the best results.
How Do You Check if a Cooling Fan is Working?
Listen for Operational Noise
When a cooling fan is in good condition, it will emit a gentle, continuous airflow sound during operation. This steady tone usually means the blades are rotating smoothly and moving air effectively through the system.
A stable, uniform noise generally suggests the fan is functioning as it should. On the other hand, unusual sounds — like grinding, clunking, clicking, or a sharp screech — often indicate mechanical wear, bent or misaligned blades, or loosened components inside the housing. These noises should be addressed promptly, as they can signal the need for maintenance or replacement before further damage occurs.
Observe Airflow and Temperature Changes
To check airflow, hold your hand a short distance from the fan’s intake or exhaust area while it’s running. The air should feel consistent, well-directed, and strong enough to suggest the motor is working at full capacity. If the airflow is weak, inconsistent, or reversed, it could point to blade damage, blockages, or a failing motor.
Temperature behavior is another useful indicator. Measure the system’s temperature before and after the fan has been running, either with a thermometer or built-in monitoring tools. A properly working mini cooling fan should help reduce heat within a reasonable time. If the temperature barely changes, it’s a sign that the fan may not be delivering adequate airflow or is operating below its optimal performance level.
Visual Inspection of a Small Cooling Fan
Check for Small Cooling Fan Physical Damage
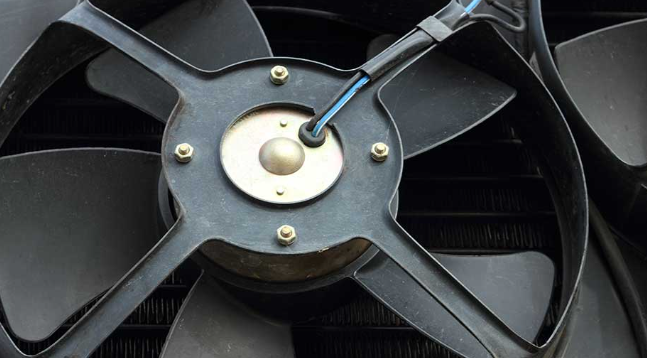
When examining a small cooling fan, avoid giving it just a quick look — take the time to inspect it under bright lighting and from different angles. Watch for fine cracks, small chips, or blade distortion. Even minor defects can disrupt the fan’s balance, leading to vibrations, uneven airflow, and increased wear on the bearings over time.
It’s also worth checking the motor body and outer frame. Corrosion spots could indicate prolonged exposure to moisture, while discoloration or burn marks may point to overheating or electrical faults. Any warping in the housing might result from physical impacts or installation misalignment, both of which can compromise airflow efficiency. Spotting these warning signs early can help you address issues before they escalate into a complete failure.
Check for Cooling Fan Blockages
Obstructions are more than a cosmetic issue — accumulated dust, dirt, or debris can restrict airflow, force the motor to work harder, and upset the fan’s balance, ultimately shortening its lifespan. Build-up around the motor can also trap heat, leading to higher operating temperatures and premature wear.
To detect blockages, examine the intake and exhaust paths carefully and clear away any deposits. Next, perform a manual spin check: turn the blades slowly by hand to see if they rotate freely. Smooth movement typically means the bearings are healthy, while stiffness, grinding, or uneven resistance could indicate loss of lubrication, bearing wear, or friction inside the motor. Addressing these problems early may allow for a simple clean and service instead of a full replacement.
Mini Cooling Fan Airflow Direction Test
Cooling Fan Paper Test
If you suspect that a fan might be installed in reverse or that airflow is weak, the paper test is a quick way to confirm. While the fan is operating, hold a small strip of lightweight paper close to its intake or exhaust side.
For intake fans, the paper should be pulled toward the blades.
For exhaust fans, the paper should be blown away.
Besides confirming direction, this test can give a basic indication of airflow strength. If the paper moves only slightly, it could mean airflow is being blocked by dust-clogged filters, obstructed blades, or reduced motor efficiency.
Mini Cooling Fan Arrow Indicator Check
Many well-designed mini cooling fans feature two small arrows molded into the housing: one marking the airflow direction and the other showing the rotation of the blades. Comparing these markings to the actual performance helps verify correct installation.
If the airflow doesn’t match the arrows, possible causes include incorrect mounting, wiring errors on variable-speed models, or a motor running in reverse due to polarity issues. Correcting these setup problems can restore proper cooling efficiency, lower energy use, and help prevent overheating in connected equipment.
Electrical Testing for a Cooling Fan
Cooling Fan Power Source Test
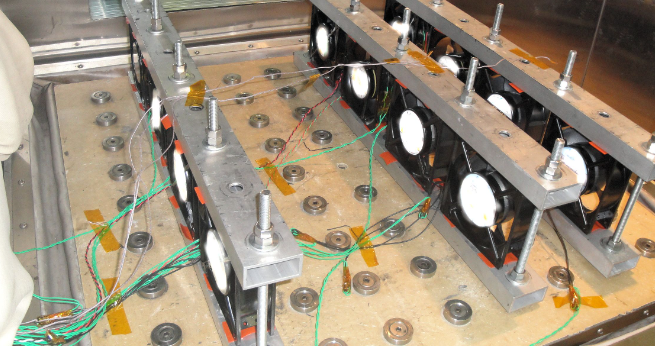
One of the most effective ways to determine if a miniature cooling fan is receiving proper electrical power is to measure its supply voltage with a digital multimeter. Set the multimeter to the appropriate DC or AC voltage range (depending on the fan type), then place the probes on the fan’s positive and negative terminals while the fan is expected to be in operation.
The measured voltage should be very close to the fan’s rated specification — for example, around 12V for most automotive radiator fans, 24V or 48V DC for industrial DC cooling fans, or 110V/220V AC for larger commercial and industrial units. A deviation greater than a few percent can indicate excessive voltage drop due to corroded connectors, undersized wiring, or a failing power source.
If voltage levels are correct yet the fan does not spin, the problem is likely inside the fan assembly itself. Potential internal faults include:
Open or shorted motor windings reducing or eliminating torque output
Burned or worn commutator/brushes in brushed motor designs
Defective driver electronics or PWM controller modules
Broken solder joints or loose internal wiring in the control circuit
In such cases, additional inspection — sometimes involving disassembly — is necessary to pinpoint the exact fault. Depending on the severity and cost of repair, replacing the motor or the entire cooling fan assembly is often more economical.
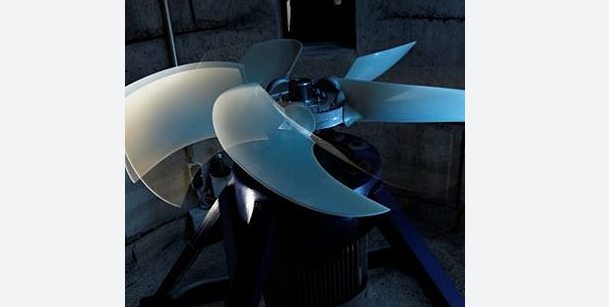
Cooling Fan Bypass Test
When it’s unclear whether the issue originates from the fan itself or from its associated control/power system, a bypass test can provide a quick and definitive answer. Start by safely disconnecting the fan from its original wiring harness or PCB connection. Then, connect it directly to a clean, stable power source that matches its rated voltage — for instance:
Automotive fans → connect directly to a fully charged 12V car battery
Low-voltage DC fans → use a regulated bench DC power supply (12V/24V/48V)
AC fans → connect to a properly rated AC source with appropriate safety measures
If the fan runs at normal speed and without abnormal noise: The problem most likely lies in external components such as temperature sensors, relay switches, speed controllers, or the power distribution wiring.
If the fan fails to start, runs slowly, or produces grinding noises: The fault is almost certainly internal — common causes include seized or worn bearings, damaged impeller blades creating mechanical drag, burnt windings, or internal electrical faults.
A bypass test is especially useful because it separates fan hardware issues from upstream control system problems, allowing you to decide whether to proceed with control circuit repairs or fan replacement.
Miniature Cooling Fan Troubleshooting Guide
Miniature Cooling Fan Doesn’t Spin
When a cooling fan refuses to rotate, start by inspecting all power-delivery components in the circuit — such as fuses, relays, connectors, and the wiring harness. Look for subtle signs of failure, including terminal oxidation, hairline cracks in wires concealed under insulation, or heat discoloration around plug contacts. Even a small imperfection can completely disrupt electrical flow to the cooling fan.
If the electrical supply path checks out but the miniature cooling fan remains stationary, the issue is likely inside the fan unit itself. Typical internal failures include:
Seized motor shaft caused by dried lubrication or bearing seizure, preventing rotor movement
Burned or shorted motor windings, which stop the magnetic field from forming correctly
Damaged built-in control electronics, especially in modern miniature cooling fans with integrated driver boards
For compact DC cooling fans and sealed industrial designs, in-depth repairs can be challenging and uneconomical. In such cases, replacing the motor or the entire fan assembly is often faster, more cost-effective, and more reliable over the long term.
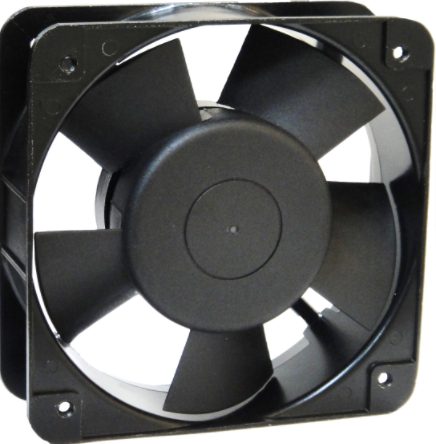
Miniature Cooling Fan Spins Slowly or Erratically
If a miniature cooling fan runs at a noticeably lower speed or exhibits uneven motion, several factors may be to blame:
Motor wear and aging – Over years of operation, the enamel coating on copper windings can degrade, increasing resistance and lowering torque output. This often leads to excess heat and further accelerates deterioration.
Speed control malfunction – Faults in the PWM controller, driver IC, or temperature sensor can send inaccurate control signals, resulting in fluctuating or incorrect fan speeds.
Mechanical drag – Dust buildup on the blades, worn-out bearings, or slight shaft misalignment can increase resistance, forcing the motor to draw more current while delivering less airflow.
Promptly addressing these cooling fan performance issues is essential. Reduced airflow not only compromises cooling efficiency but can also cause heat stress on other system components, leading to premature failure or costly downtime.
How Do I Know if It’s Time to Replace Your Cooling Fan?
Cooling Fan Leading to Persistent Overheating
If your equipment continues to operate at elevated temperatures despite the cooling fan running, it’s a strong indicator that airflow performance has dropped. Common causes include warped or chipped blades disrupting smooth air movement, a motor whose torque has weakened from long-term use, or ventilation paths partially blocked by dust, fibers, or other debris. In these cases, a cooling fan that still spins may no longer provide adequate cooling capacity, and replacing it is often the most effective way to restore optimal thermal control.
Cooling Fan Generating Unusual Noise or Vibration
A well-functioning cooling fan should run quietly and smoothly. If you hear loud humming, metallic grinding, or persistent rattling, the source may be mechanical imbalance or internal wear. Prolonged vibration not only shortens the fan’s service life but can also loosen fasteners, stress surrounding components, and lead to premature system failure. While repairs such as rebalancing blades or replacing bearings are possible, swapping in a new cooling fan typically delivers a quieter, more reliable, and maintenance-free solution.
Cooling Fan Operating Inconsistently or Unreliably
If your cooling fan hesitates to start, stops without warning, or fluctuates in speed without a change in system demand, underlying issues are likely at play. These may include worn brushes, deteriorated commutators, faulty control circuits, or sensor malfunctions. Although skilled technicians can sometimes resolve these faults, for most applications, installing a new cooling fan offers a quicker, more dependable fix — ensuring stable airflow and preventing temperature-related damage to sensitive electronics.
Read more
https://www.yccfan.com/articledetail/507.html
https://www.yccfan.com/articledetail/510.html
https://www.yccfan.com/articledetail/519.html
Conclusion
Timely identification of cooling fan issues is essential for protecting your equipment’s performance and longevity. While some problems can be resolved through cleaning, lubrication, or minor part replacement, many cases — especially involving motor wear or aerodynamic inefficiency — are best addressed by installing a new unit.


